
Building Your First Coil - A Beginners Guide
Daniel Fisher • Nov 16, 2020
Welcome! If you’re here, I imagine you’ve stumbled across rebuildable atomisers (RBAs) at some point and wanted to give it go for yourself. If you’re here and you haven’t heard of RBAs or vaping, I’m just as confused as you but you’re welcome to stay, too, I suppose. Let’s dig into a bit of information that we’ll need before deciding on our coil. If you’re this far, I’m going to assume you already have some understanding of wire types, gauge, resistance and “ramp up” times. If you have no idea what I just said, head on over to our Blog on Wire Types
for all that and more.
Wrapping and Inner Diameter
This is as simple as it sounds. It’s just a matter of taking your wire and wrapping it around a cylindrical object to create that ever so lovely round shape. This object may be a screwdriver, a dedicated coiling rod (sometimes known as a jig), pencil, que tip or anything else laying around the house. The inner diameter of your coil will be determined on the space in your RBA and your personal taste.
Full VS Half Wraps
This is going to depend almost entirely on your atomiser. If the positive and negative posts – or leg holes – offer places to put your legs in opposing sides, you’ll need “full wraps”. If your leg holes are parallel, you’ll be looking for “half wraps”. Steam Engine shows half wraps as “x/y wraps”. The second number represents how many full wraps to do, with half a wrap towards the first. E.g., 5/4 half wraps would be 4 full wraps, with half a wrap more to put the legs on the same side. Some atomisers offer both. In that case, it’s up to you. I, personally, prefer half wraps for a bit of simplicity on the installation but, in my opinion, it doesn’t make much difference.
Surface Area and Coil Mass
Surface area and coil mass play a role in vapour and flavour production. Heating a thicker coil over a larger area may increase vapour and flavour production but you want to be weary of adding too much. A coil that is “too large” will have a much longer ramp-up time and need much more power, increasing battery consumption. Your choice of gauge plays a big part in this, alongside how many wraps. As we know, a small gauge means a thicker wire and vice versa. There’s a bit of a balance here between surface area, coil mass and resistance. It may take some experimenting to find your sweet spot but it is totally worth it. As with most things vaping, this is largely subjective. One vaper may be happy with a long ramp-up, running at 160w and using 3 sets of batteries a day. Another may prefer to save battery power at the cost of flavour and clouds.
Dry Firing and Pulsing
Dry firing (or dry burning) and pulsing are processes of using RBAs. It is done by heating up the coil without having any cotton or juice to reach an orange – or low red – glow. It is done to shape and/or clean the coil and to check for “hot spots”. While dry firing may be helpful at times, it's not without risk. Dry firing leads to the coil reaching temperatures significantly hotter than during standard vaping. This can lead to different oxides forming on the surface of the coil, depending on the metal used. Particulates of these have the potential to break off and be inhaled while vaping. A safer option is slowly pulsing at a much lower power and the safest option is not dry firing at all.
I challenge you to a dual!
Some RBAs are designed for dual coil builds. Using a dual coil build will offer a big boost in flavour and cloud production without complicating things too much. It will inherently have the downside of using more juice and battery power. Really the only technical thing to it is that it will cut your resistance in half.
Keep It Simple
For the purpose of this instruction, we’re going to stick with the age-old adage, K.I.S.S.: Keep It Simple, Stupid. A simple, single wire coil, single coil build. You may be feeling adventurous and wanting to try something more; I’ll include a little bit of extra information at the end for you but let’s start with the basics.
What we’ll need
Be sure to use clean tools for handling your coils. All of the tools below that I’m using are from the Wotofo DIY Kit. This is everything we’ll be using to make and install our very own coil:
- 24 gauge kanthal A1
- Screwdriver
- Coiling rod
- Ceramic and elbow tweezers
- Wire cutters
- Pliers
- Scissors
- Organic vape cotton (Cloud 9)
- Regulated mod + atomiser (Geekvape Aegis Max 100w + Wotofo Profile Unity RTA)
- steam-engine.org
Items 2-7 can be found in most build kits along with all of your other DIY building needs available here.
Let’s Get Down to Business
… to defeat the Huns... and you know, make our coil.
- First thing we’re going to do is wash our hands. Let’s face it, human beings are filthy. We don’t want residue from who knows where on our coils.
- Next, let’s head on over to the “Coil Wrapping” section on steam-engine.org (an amazing 1-stop website for all things coil; be sure to bookmark this). I’ve used a few 0.4 Ω replaceable coils. So, let’s try and replicate that. Hovering your mouse over the different sections will also offer a short explanation of what it’s asking for and telling you. Select your wire, gauge, coil type, setup, target resistance, inner diameter and leg length – if you like. 4-5mm leg length is pretty standard and altering it in Steam Engine won’t change much at all. This is what I’m selecting:
-
Wire: Kanthal A1 Gauge: 24 Coil Type: Round Setup: Single coil Target Resistance: 0.4 Ω Inner Diameter: 3mm Leg Length: 5mm 
Steam Engine tells me that I’ll need 56.5mm of wire wrapped in 4 full wraps (0.38 Ω) or 5/4 half wraps (0.44 Ω). Let’s up that to 100mm (10cm/4in) to give me some room for error and a bit of man-handling without ruining my coil. Don’t feel bad wasting a bit of wire while you get the hang of it. Wire is pretty cheap and plentiful. - Now that we know what we’re making, let’s actually get started. Measure out your wire from the spool – in our case, 10cm – and cut it.
- Next thing to do, grab whatever you’re using as your coiling rod and, like Eminem a month before Christmas, let’s slowly start wrapping. I’m going to be using 5/4 half wraps. Take your wire and give it a 360 degree wrap around the rod. That’s 1 “full wrap”. We only need 3 more of those. If you’re installing your legs in parallel, do your 4 full wraps and add another 180 degree wrap to it. At this point, if you feel that it is a bit uneven or loosely wrapped, you can just tighten it around the rod by just pulling the legs with your pliers.
Here’s a handy tip for when making coils with parallel legs: after completing the wraps, add another 90 degree wrap. Take some pliers, tweezers or just your fingers, grab the leg; close to the rod and bend it back. This will put the legs on the same side of the coil and make your life easier when installing your coil.

- Now comes the installation. RBA’s will differ from each other when it comes to the specifics. Some will require you to pre-cut your legs before placing; others will have room to cut them afterwards but they all rely on much the same principle. Place your coil in the leg holes and tighten the screws. Try and center your coil as much as possible, lining it up with the air flow. Raise the coil up if you like a warmer vape, lower it if you want it cooler.
However you’ve placed your coil and legs, you want to make sure that they won’t make contact with any part of the RBA other than the leg holes, including the top cap or chimney. Making contact may cause an electrical short. Most regulated devices have protections for this but it’s better to avoid testing it.

- As an optional step, this is where we would dry fire or pulse the coil. Be sure you know how your wire type reacts with dry firing. Being in a dimly lit area helps here, as the coil doesn’t have to get as hot before you see it glow. Start at a very low wattage (10w-15w) and slowly pulse it until you start to see it glow. You want it to be glowing evenly, from the middle out. If it isn’t, grab your ceramic tweezers and, in between pulses, pinch the coil together, pull it apart and or use a strumming/scraping action on top of the coil. Pulse the coil again and repeat until you get a nice, even glow.

Remember: we are passing an electrical current through the wire and making it extremely hot. That’s why ceramic tweezers are best recommended. Be sure to give the coil ample time to cool down before touching it or wicking it. - We’ve got our coil in place, let’s throw some wick in. I’m going to be using Cloud 9 organic cotton. A general guide for how much cotton to use is about 1-1.5 times the ID of the coil, depending on how fluffy it is or if it’s a sheet. Twist one end of your piece to a point to help you feed it through. You’ll know it’s a good amount of cotton if you feel a little bit of resistance but can still pull it through easily. If you enjoy crackling and popping in your vape, experiment with less wick or try a thicker wick if you want to steer clear of it.

- Cut your wick to an appropriate length for your RBA. If you’re using an RTA, RDTA or removable RBA coil, I recommend looking up some wicking tutorials on your specific one, as they can vastly differ from other models but a very rough guide is to have the tail sitting just below the wick slots without it laying on the base.
- Grab your elbow tweezers and guide the points through your wick. This will thin it out and remove any clumps or knots, helping with absorption. Again, for RTAs, RDTAs and RBA coils, the amount will depend on your specific atomiser. You want the tail to fill the wick slot so that it won’t leak but you don’t want too much or else you’ll be getting dry hits. A decent test is to take one side of your tweezers or your screwdriver and try and poke it through the wick slot. It should go through with mild ease. Once again, drippers and squonkers, you lot have it easier here. A bit of thinning will still help but you don’t need to be anywhere near as careful with it. Cut off any excess.
- Tuck your tail into the wick slots or juice well. Grab your juice and prime up the cotton. If you would like to avoid any break in period, juice up the cotton, fire it off and repeat a few times. This is also another little test just to make sure nothing goes wrong before you put your mouth to it. It’s also just kind of pretty.

- Put your atomiser back together. Fill up your tank or squonk bottle and vape away! If you’re dripping or squonking, you can kind of get away with just jamming it in the juice well. you want to make sure that the cotton is fully saturated before firing it for any extended lenghts of time as you don't want to risk frying your nice new cotton.
That’s all, folks!
Welcome to the cheap, flavourful, freedom-laced world or building. If you’re still wanting to learn more, even after I just rambled on for all of that, stay tuned below and I’ll touch on a few directions you can go from here. If you’ve had enough reading and you just want to enjoy your vape, I don’t blame you and I bid you adieu.
What’s next?
Without needing any other tools, there are a few builds you can try out if you want to change up your vape experience.

- Spaced coils: spaced coils are exactly the same as the build we just did, known as a “contact coil”, except in one regard; each wrap is spaced apart from each other. It might not sound like it would change much and when it comes to flavour and cloud production, you’re right. However, spacing the coil out heats your wick over a larger distance and your wick will thank you for it. It reduces the likelihood of dry hits and your coil and wick may last significantly longer compared to a contact build and really, the only cost to it is a small amount of heat. You can always counteract that in a regulated mod, anyway. Any type of coil can be spaced out; twisted, parallel, clapton, etc.
- Twisted coils: they’re as simple as they sound. Taking 2 strands of wire and twisting them together. An easy way to do this is measure about 2.5 times the length of wire needed for your coil, fold it in half and tie the ends together. Take the loop and put it in something like a pen clip, hold the other end with pliers and keep twisting the pen until the wire breaks off. Twisted coils offer an increase in flavour and vapour over a single wire, with greater surface area and lower resistance. Changing the distance between the twists will also change how it performs. Twisted coils are preferred by flavour chasers.
- Parallel coils: parallel coils are made exactly the same way we did our build but using 2 wires at once, instead of one. Parallel coils halve the resistance of a single wire build of the same gauge. Parallel coils are preferred by cloud chasers.
This is where the next major step is, heading more into “exotic” coils. I’ll only mention one, because there’s just too many to name right now, and that is the clapton coil. A clapton coil consists of a “core” wire, wrapped (or “claptonised”) by a higher gauge wire. They offer increased surface area, better flavour and vapour, at a lower resistance. You can increase the performance by using 2 core wires, creating a “fused” clapton, 3 wires for a “tri-core” fused clapton and so on.
This is where I’ll leave you, loaded with information and your very own, hand-made coil to vape on. Enjoy the flavour and freedom that comes with making your own coils!
-Super Vape Store Charlestown

Explore the in-depth features, health implications, safety standards, and overall performance of the Lost Mary OS5000 disposable vape. Learn about its nicotine content, puff capacity, and built-in safety mechanisms to make informed vaping choices.

Dive into our detailed review of Bling Vape's high-quality disposable vape models, including the Bling Diamond 6500 and Bling Eternity 8500. Discover features, performance, and pricing tailored to both new and experienced vapers looking for stylish, efficient vaping solutions.
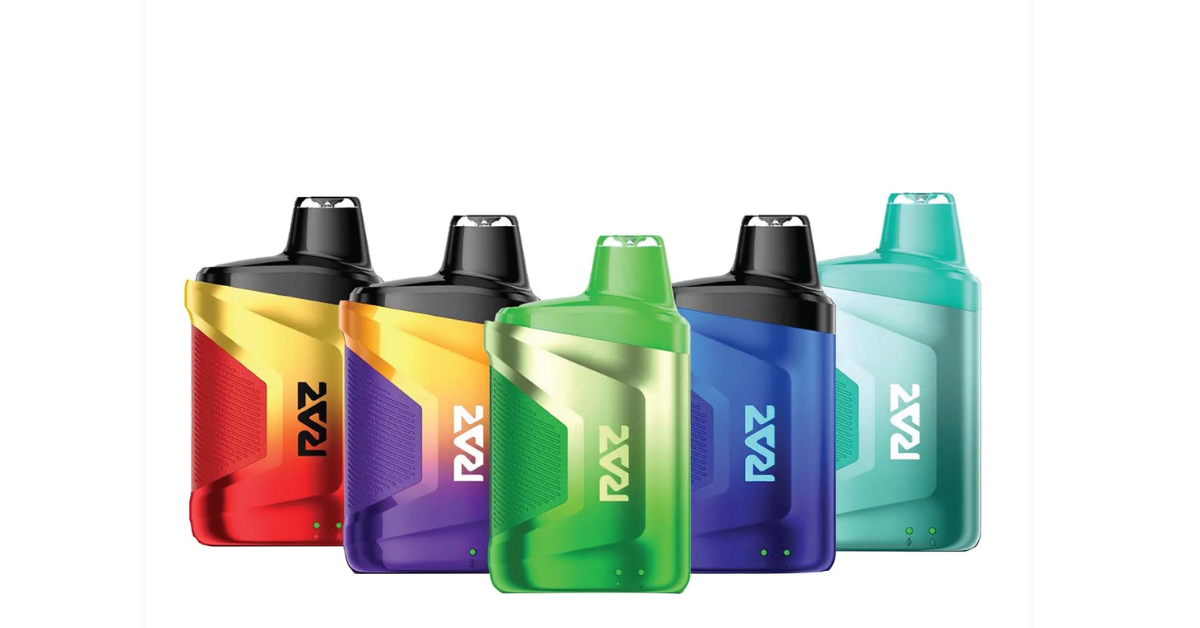
Explore our detailed 2024 review of Raaz Vape, focusing on the CA6000 and TN9000 models. Learn about their user-friendly design, extensive flavor options, battery life, cost-effectiveness, and more. Discover why Raaz Vape stands out in the vaping community for both casual and avid vapers.
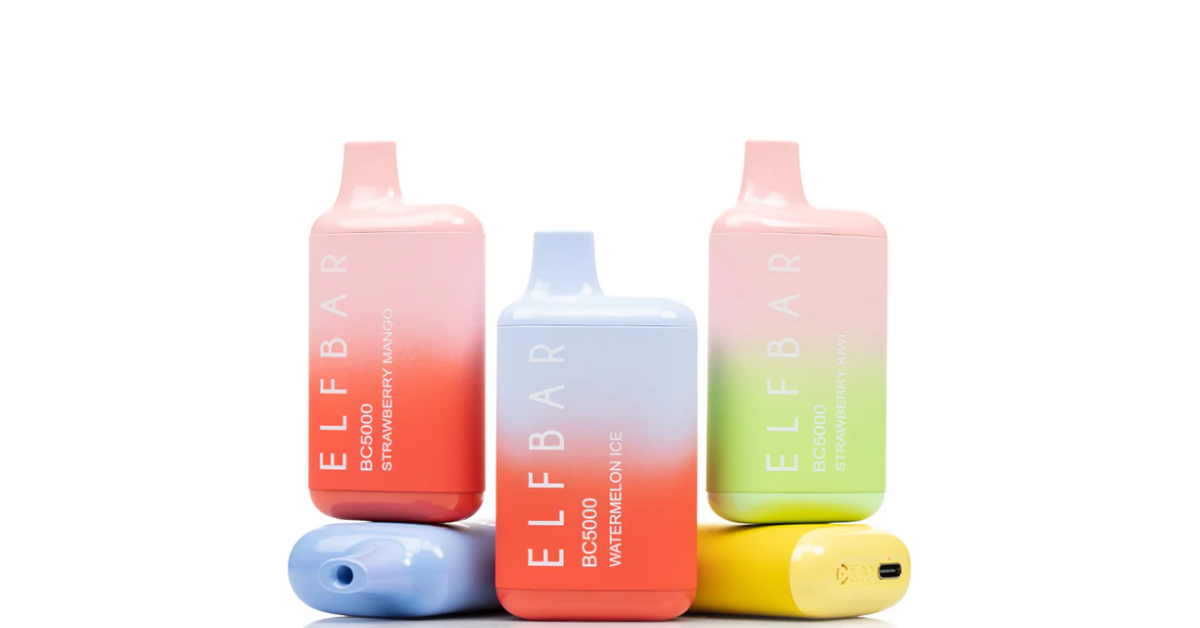
This comprehensive review examines the health implications, vapor production, and user experience of ELF Bar disposable vapes. Learn about ELF Bar's design, flavor accuracy, throat hit, and how it compares to other vape brands. Perfect for individuals considering vaping as an alternative to smoking.
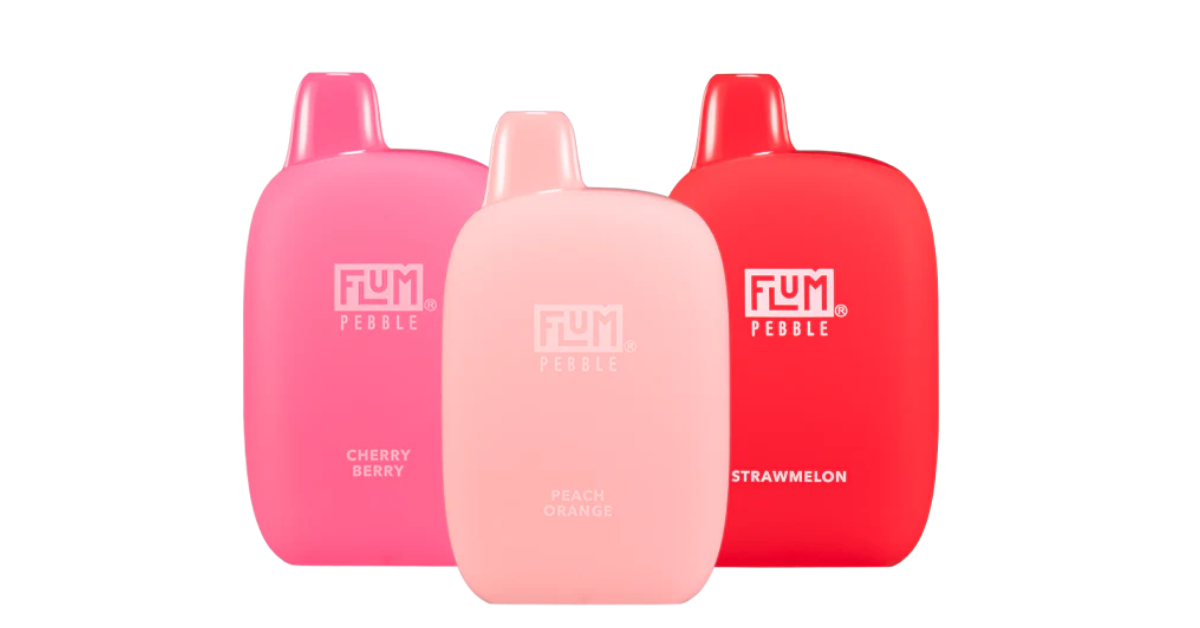
Dive into our detailed review of the Flum Pebble disposable vape, covering its unique pebble-like design, extensive flavor options, and technical specifications. Learn about its competitive pricing, user experience, and how it stands up against other disposables in the market, offering value for both novice and seasoned vapers.
Explore the in-depth features, health implications, safety standards, and overall performance of the Lost Mary OS5000 disposable vape. Learn about its nicotine content, puff capacity, and built-in safety mechanisms to make informed vaping choices.
Dive into our detailed review of Bling Vape's high-quality disposable vape models, including the Bling Diamond 6500 and Bling Eternity 8500. Discover features, performance, and pricing tailored to both new and experienced vapers looking for stylish, efficient vaping solutions.